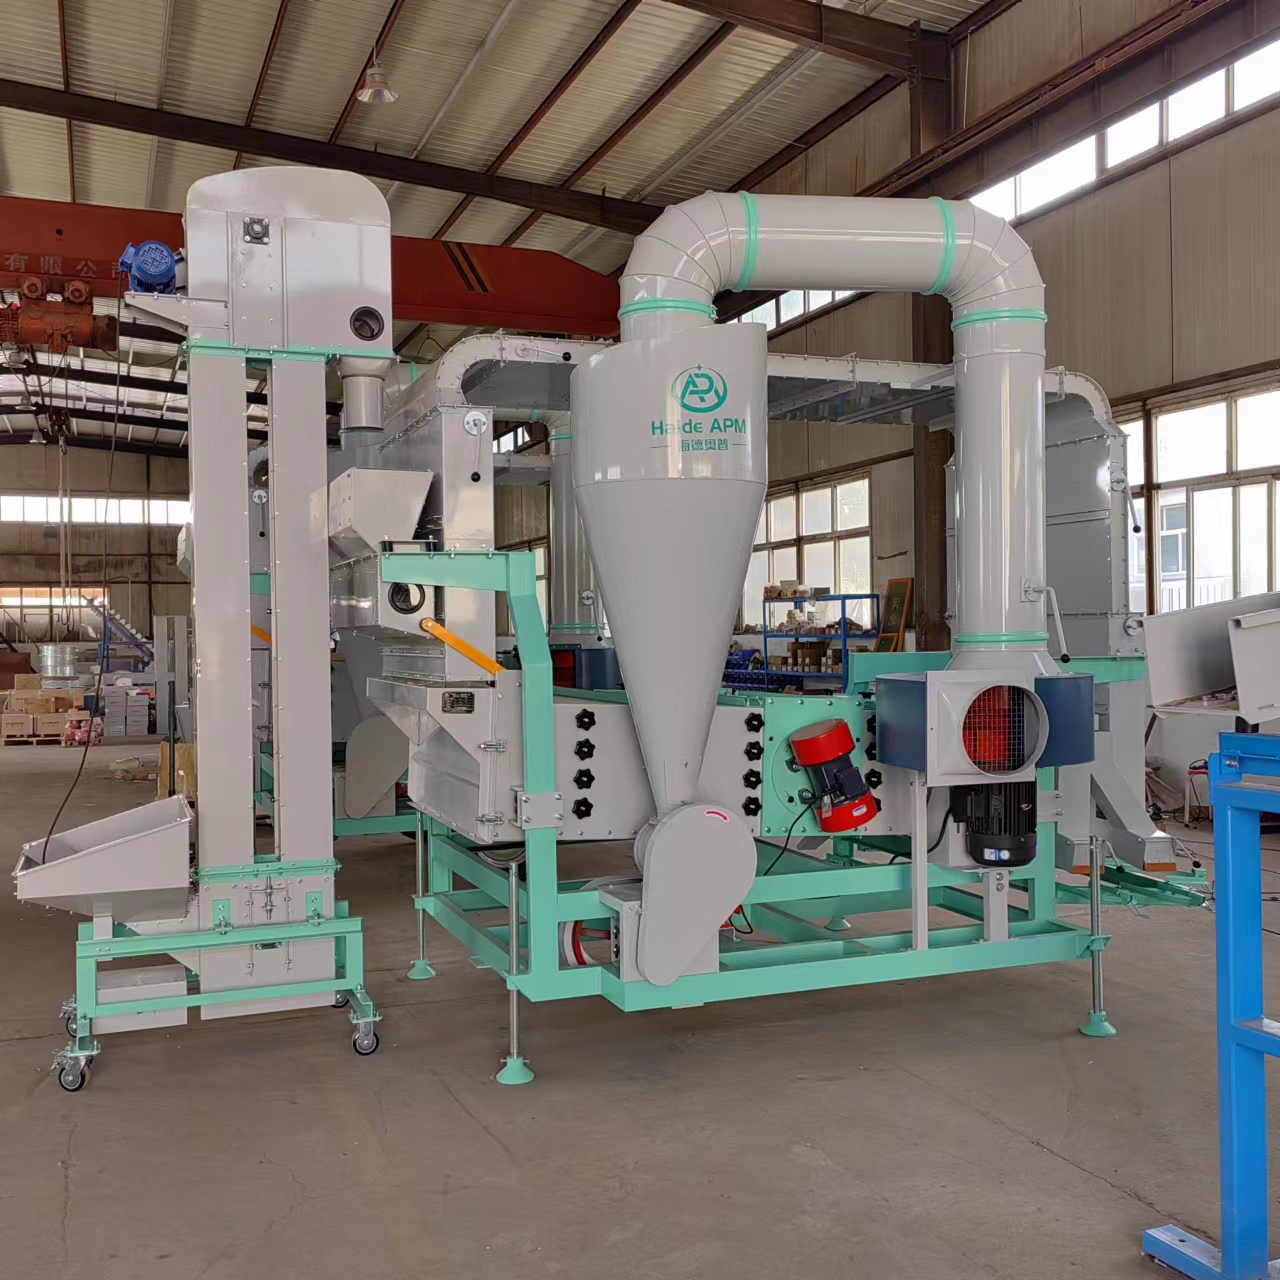
How to Maintain a Seed Cleaner
To ensure the optimal performance of a seed cleaner, regular maintenance is essential.
First, always clean the machine after each use. Remove any seeds, debris, or dust that have accumulated during the cleaning process. Use a soft brush or a vacuum cleaner to gently clean the surfaces, sieves, and chambers of the seed cleaner. This prevents the build – up from affecting the next operation.
Check the moving parts regularly. Lubricate the bearings, gears, and other mechanical components as per the manufacturer’s instructions. This reduces friction and wear, prolonging the lifespan of these parts. Make sure there is no abnormal noise or vibration during operation, as this could indicate a problem with the moving parts.
Inspect the sieves carefully. If there are any holes, tears, or blockages in the sieves, they should be repaired or replaced immediately. Damaged sieves can lead to ineffective cleaning and may allow impurities to pass through with the seeds.
Also, examine the belts and chains. Tighten them if they are loose, and replace them if they show signs of excessive wear or damage. This ensures the proper transmission of power within the machine.
Finally, store the seed cleaner in a dry and clean environment. Protect it from moisture, sunlight, and other environmental factors that could cause rust or other forms of deterioration. By following these maintenance steps, you can keep your seed cleaner in good working condition for a long time.
Post time: Nov-05-2024


